
Resolve Tickets
Businesses should strive to resolve tickets as soon as possible. It means you should resolve and respond to every negative review as soon as possible before these hurt your brand’s reputation.
It also shows your responsiveness and care towards your customers.
To resolve or close a ticket, follow this step-by-step process:
Step 1: Go to Listings in the left-side panel on your dashboard.
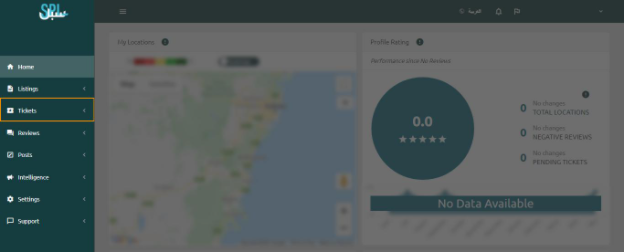
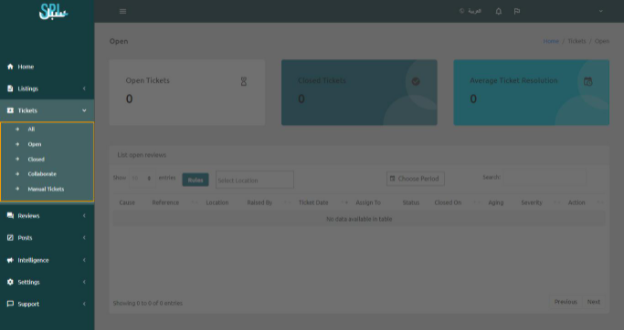
Step 2: Click on the Tickets link. On the following screen, you will see the list of all opened and closed tickets:
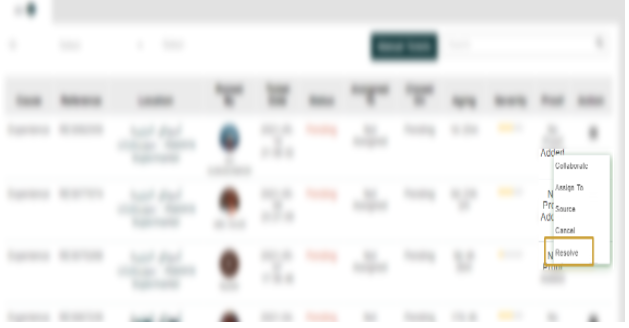
Step 3: All resolved or closed tickets will have the name of the member who resolved it.
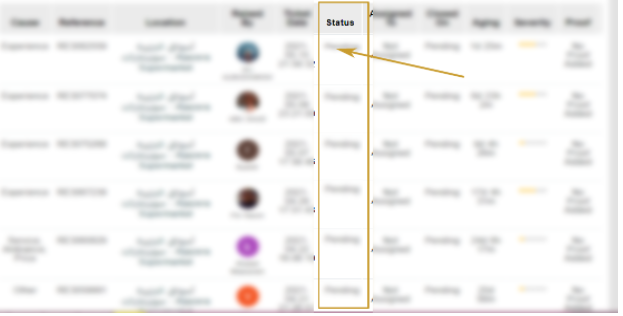
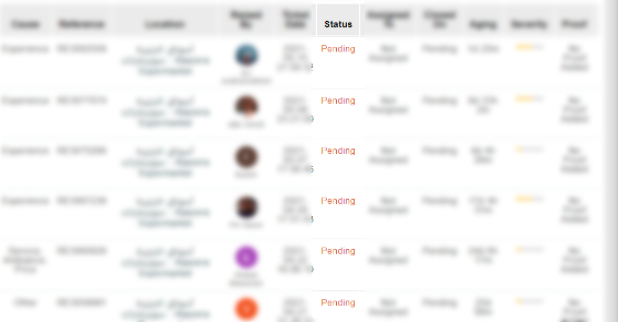
All opened tickets will have a red word of “ Pending”.
Step 4: To resolve a ticket, click on ”Resolve” button in the Action column.
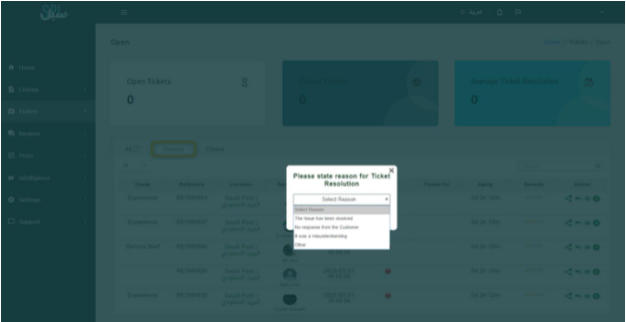
Step 5: Select the reason, from the drop-down list, for closing the ticket.
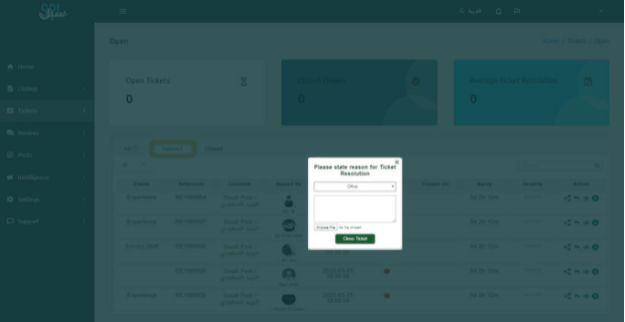
If you choose the last option – Other (please describe) – you will have the following window on your screen.
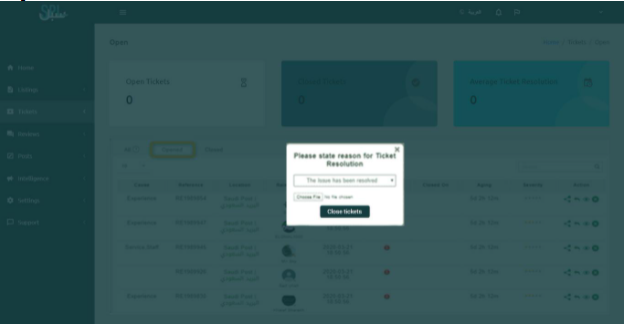
In the text box, enter the reason for closing the ticket. Also, you can attach a photo (JPEG, PNG, JPG, and GIF) as the proof of the reason.
Step 6: Now, click on the Close Ticket button.
Step 7: The status will change to resolved/closed.
If you still have any questions or any doubts, you can contact us now.