
Scan your listing
At Post Business, you can scan your listings whenever you want. It helps you to keep your information accurate and updated on the platform.
To scan your listing on Post Business, follow these steps:
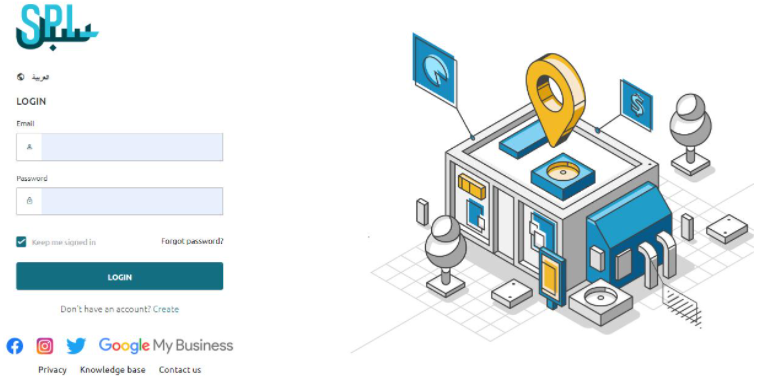
Step 1: Log in to your Post Business account
Log on to your Post Business platform, and click on the login button.
Enter your email ID and password. Now click on the SIGN IN button.
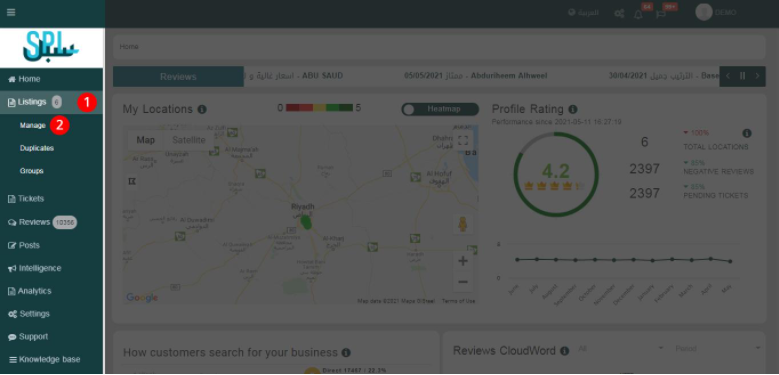
Step 2: Go to Manage Locations
On the left side of the dashboard, Go to Listings > Manage Location (s).
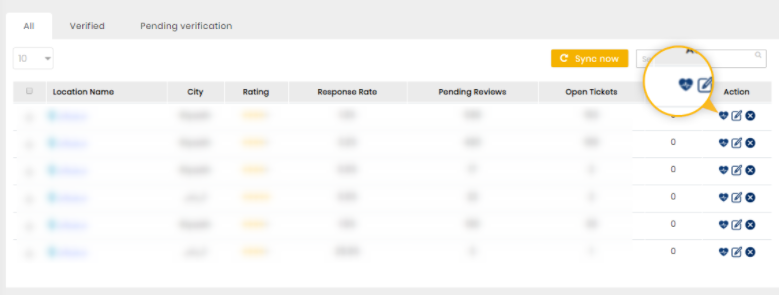
Step 3: Start Scanning your Listing
Now, you will see your listings in front of you. You can edit your listing before scanning by clicking the “Start editing your listings here” button.
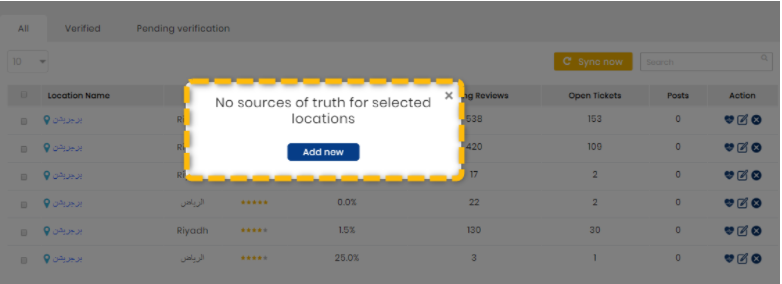
Otherwise, you can directly start scanning your listing, which is a simple process. Simply click on the heart icon in front of your listing.
You will receive a popup message on your screen, giving you further instructions about your scan.
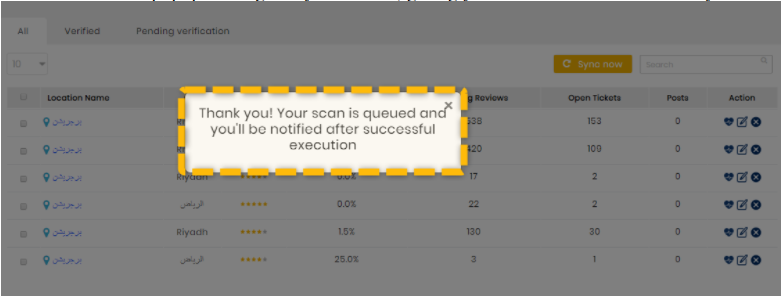
If you receive the following message, then click on the “Learn how to add sources of truth” button.
Step 4: Review your Report
Once you are done with scanning your report, you can access the report in your account.
To look at the report of the selected location, click on the pen icon next to the heart icon. You will see the following screen:

If you still have any questions or any doubts, you can contact us now.